I'm working on two projects at once at the moment, which is quite unusual for me! I'm normally a one project gal. But here's what's going on at the moment :)
Christmas Quilt
I made my first block! It's so pretty. Completely in love with the fabrics.
Mushroom Houses
While my hubby and mother in law were tiling our bathroom (thanks guys!), I did a lot of cutting:
And I've since been sewing the pieces into rows:
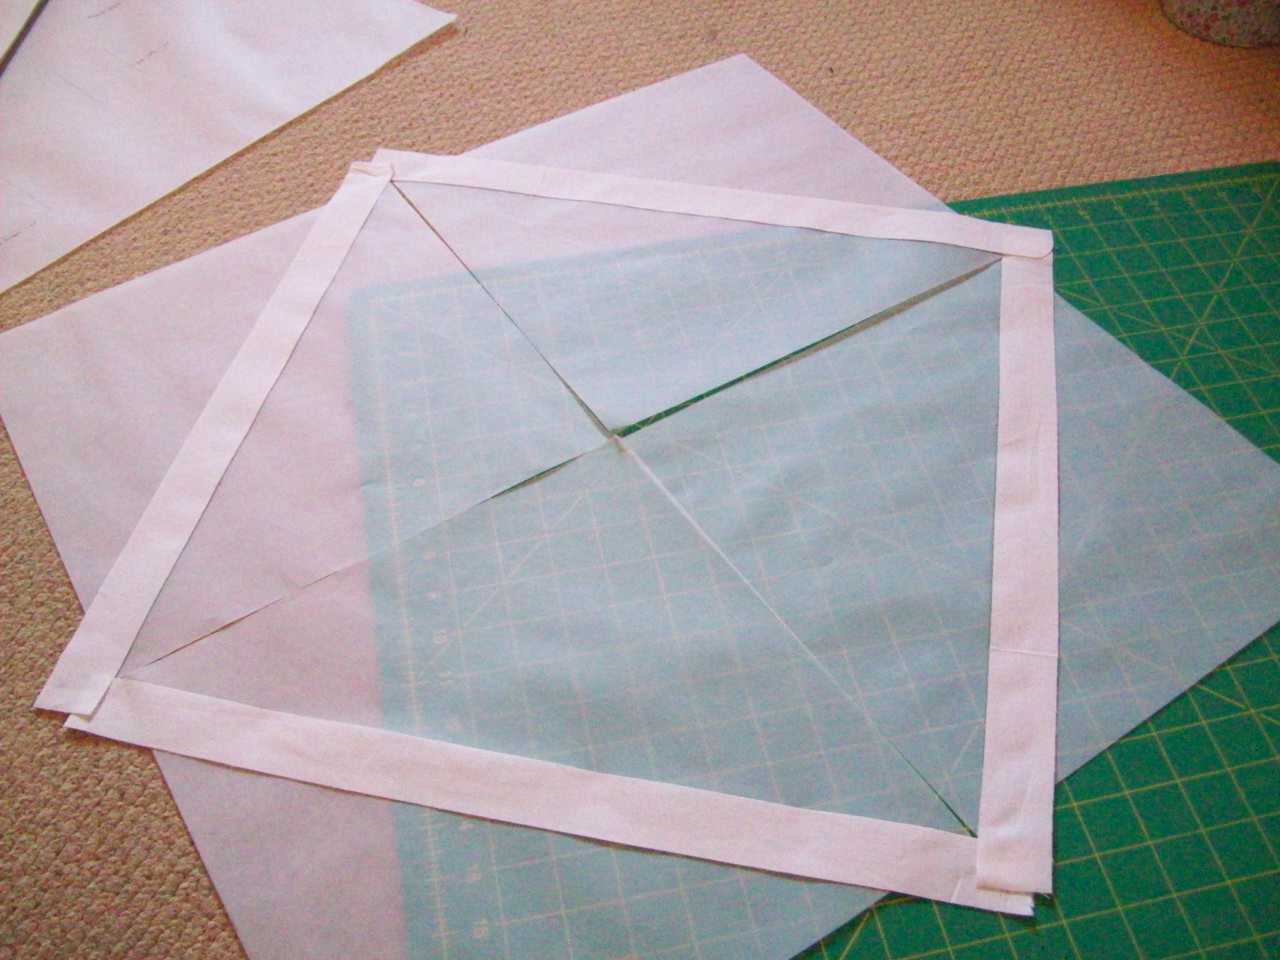
I also took the slightly-too-girly houses fabric:
And carefully pieced it to create a nice clean line :) I was really pleased with how this worked out.
Hope you're all well :)
Tuesday, 19 February 2013
Saturday, 9 February 2013
Mushroom Houses!!
Hi everyone :) I've recently started work on a new baby quilt. Little Miss Cooper's mum has asked me to make a quilt for a friend of hers who is having a baby. We went fabric shopping together to come up with some ideas and we were browsing around without reaching any conclusions until she turned around and said "Mushroom houses!!" So, Lecien's Woodland it was!
This is going to be another gender neutral quilt. A little awkward as a lot of this range is based on fairies and flowers, but with some clever selection and some planned fussy-cutting (we'll be losing the flowery garland on the white fabric) I reckon it should be achievable.
Here's my plan for the quilt:
Does anyone else plan their quilts in Paint? Anyway, I'm looking forward to working on this one. The rows of houses between the rows were my friend's idea - I think they're going to look really cute! I'll be intruiged to see how close the real quilt looks to this picture in the end.
See you soon :)
This is going to be another gender neutral quilt. A little awkward as a lot of this range is based on fairies and flowers, but with some clever selection and some planned fussy-cutting (we'll be losing the flowery garland on the white fabric) I reckon it should be achievable.
Here's my plan for the quilt:
Does anyone else plan their quilts in Paint? Anyway, I'm looking forward to working on this one. The rows of houses between the rows were my friend's idea - I think they're going to look really cute! I'll be intruiged to see how close the real quilt looks to this picture in the end.
See you soon :)
Friday, 8 February 2013
Decisions, decisions
One of the best things about our new flat is that it's across the road from our friends Dave and Raych. When we first moved in it felt a bit like being back in halls at university - being able to pop by and see people so easily, instead of having to make plans like boring grown-ups! Alongside their many other wonderful qualities, Dave and Raych are great because they have a shower. We, on the other hand, currently have a building site/bathroom with no shower and a lot of mess. So they have very kindly been letting us pop by to use theirs.
I had been wondering whether I could make them something as a thank you, and then they mentioned to my hubby that whenever they have loads of things to think/decide/pray about, they put them all in a hat, draw out one and discuss that one. Perfect! I had been waiting for an excuse to try out Jeni's drawtsring bag tutorial, and this was it.
First up, cutting.
Next was the exciting bit - getting to use my new embroidery hoop! It was a Christmas present from my in-laws, and I loved using it. I felt a bit like I was in Pride and Prejudice :)
Then I sewed the pieces together...
... and, ta da! One lovely little bag.
Jeni's tutorial was great. Very clear and simple to follow. I'd definitely recommend you give it a go! I gave the bag to Dave and Raych a little while ago while on one of my many pop-round-for-a-shower trips, and Raych described it as the prettiest bag she'd ever seen. So I think it's fair to say it was well received!
I'll be linking up to Finish It Up Friday and TGIFF (hosted by Kit) and checking out what everyone else has made too :)
I had been wondering whether I could make them something as a thank you, and then they mentioned to my hubby that whenever they have loads of things to think/decide/pray about, they put them all in a hat, draw out one and discuss that one. Perfect! I had been waiting for an excuse to try out Jeni's drawtsring bag tutorial, and this was it.
First up, cutting.
The fake patchwork fabric was a birthday present from my good friends Matt and Kirsten.
It's perfect for Raych, and I'm sure Dave will be OK with it!
Next was the exciting bit - getting to use my new embroidery hoop! It was a Christmas present from my in-laws, and I loved using it. I felt a bit like I was in Pride and Prejudice :)
Then I sewed the pieces together...
... and, ta da! One lovely little bag.
Jeni's tutorial was great. Very clear and simple to follow. I'd definitely recommend you give it a go! I gave the bag to Dave and Raych a little while ago while on one of my many pop-round-for-a-shower trips, and Raych described it as the prettiest bag she'd ever seen. So I think it's fair to say it was well received!
Gotta love the button fabric
I'll be linking up to Finish It Up Friday and TGIFF (hosted by Kit) and checking out what everyone else has made too :)
Thursday, 31 January 2013
London, baby!
Hi everyone :) A big hello to any of my regulars, plus anyone popping by from Finish It Up Friday, TGIFF or the Small Blog Meet - wow, that's a lot of link-ups for one post!
Anyway, today I'm going to show you 'London, baby!', a table-topper I made for my mum. Back at the start of 2012 my LQS was preparing for the jubilee with a Great Britain-themed window display. One of the fabrics was the map print in Cool Brittania, which I thought was a fun idea but then thought nothing more of it. Until a sudden thought popped into my mind - I wonder if Primrose Hill is on there? You see, my mum loves London and she and my dad got engaged on Primrose Hill. Much searching of the internet yielded no conclusive results but I eventually managed to get back to the shop and found that yep, it was there!
So, I knew I would be making something for my mum! Problem was, what to make. After a bit of umming and ahhing I settled on a mini quilt, to be used as a table topper. Picking out fabrics to go with the London ones was good fun. I only realised afterwards that I had been subconsciously replicating the colour scheme of the Bliss fabric line. Woops!
Fabrics chosen, I made plans for the pattern. I had been drooling over Ashley's string quilt for quite some time, so strings it was:
When I came to actually use the map fabric I encountered a problem. Obviously the fabric had to have repeats and joins where the real London doesn't match up. Unfortunately I don't know London at all, so didn't have a clue where they were! Cue a lot of time poring over Google maps and trying to work out how to cut pieces big enough for the pattern without any geographical issues. It took a while, and I made a few mistakes along the way, but I got there!
Taking the paper off the back of the blocks was not fun. I wonder if the tracing paper I used was a bit too strong? Next time I'll try baking paper. Since the seams were not impressed with my tugging while getting the paper off, I decided to use fusible wadding to stabilise them, instead of normal batting. Should help it last!
Piecing done, I ironed the top and back onto the fusible wadding. And yes, that is a cupboard door I'm using as an ironing board. The flat was still a little chaotic, and it was the right size!
Some simple straight-line quilting around the squares and a little embroidered heart finished this project off nicely.
So despite the craziness of a house move, getting ready for Christmas and, of course, holding down a full-time job, this quilt was finished in time for mum's birthday. And here it is in its new home!
That's all for now! See you soon :)
Anyway, today I'm going to show you 'London, baby!', a table-topper I made for my mum. Back at the start of 2012 my LQS was preparing for the jubilee with a Great Britain-themed window display. One of the fabrics was the map print in Cool Brittania, which I thought was a fun idea but then thought nothing more of it. Until a sudden thought popped into my mind - I wonder if Primrose Hill is on there? You see, my mum loves London and she and my dad got engaged on Primrose Hill. Much searching of the internet yielded no conclusive results but I eventually managed to get back to the shop and found that yep, it was there!
So, I knew I would be making something for my mum! Problem was, what to make. After a bit of umming and ahhing I settled on a mini quilt, to be used as a table topper. Picking out fabrics to go with the London ones was good fun. I only realised afterwards that I had been subconsciously replicating the colour scheme of the Bliss fabric line. Woops!
Fabrics chosen, I made plans for the pattern. I had been drooling over Ashley's string quilt for quite some time, so strings it was:
When I came to actually use the map fabric I encountered a problem. Obviously the fabric had to have repeats and joins where the real London doesn't match up. Unfortunately I don't know London at all, so didn't have a clue where they were! Cue a lot of time poring over Google maps and trying to work out how to cut pieces big enough for the pattern without any geographical issues. It took a while, and I made a few mistakes along the way, but I got there!
Check out the pink carpets in our new flat!
Piecing done, I ironed the top and back onto the fusible wadding. And yes, that is a cupboard door I'm using as an ironing board. The flat was still a little chaotic, and it was the right size!
Some simple straight-line quilting around the squares and a little embroidered heart finished this project off nicely.
My first use of perl cotton! Loving it so far.
The backing. Love this print! Check out the gerkin :)
So despite the craziness of a house move, getting ready for Christmas and, of course, holding down a full-time job, this quilt was finished in time for mum's birthday. And here it is in its new home!
That's all for now! See you soon :)
Monday, 14 January 2013
Christmas in January
Hi everyone :) This new year I've started an exciting new project - I'm making my first quilt to keep! We haven't decided on colours/decor for our new flat yet, so I'm making one that will go with anything - a Christmas quilt.
My grandparents very kindly got me a couple of Flurry charm packs for my birthday - I love that line, and most of Kate Spain's designs. I particularly love this quilt. Isn't it gorgeous? Anyway, I'm going to be making a Charming Stars quilt. At 1.7ish metres square this'll be the biggest quilt I'll have made by a long way. Already rather scared about trying to baste and quilt it, but I'll cross that bridge when I come to it.
The pattern needs 3 charm packs and I only have 2 so I've been picking out fabrics to go with them. It's gone really well - 2 new fabrics my inlaws gave me for Christmas, 2 solids I already had and one fabric I'd been eyeing up which was on sale:
I just need to pick up a green solid and I'll be good to go :)
The first step in making this quilt is to cut out 128 2 7/8"white squares - yikes. So far I've cut out 45 which actually didn't take too long! Looking forward to sorting out the layout and getting sewing soon.
Ooh and something else to show you. Do you remember my 'photography studio' in my old flat:
Well, my new flat has a perfect ready-made lightbox! Very handy.
I'll be linking up to Work in Progress Wednesday when it comes around :)
My grandparents very kindly got me a couple of Flurry charm packs for my birthday - I love that line, and most of Kate Spain's designs. I particularly love this quilt. Isn't it gorgeous? Anyway, I'm going to be making a Charming Stars quilt. At 1.7ish metres square this'll be the biggest quilt I'll have made by a long way. Already rather scared about trying to baste and quilt it, but I'll cross that bridge when I come to it.
The pattern needs 3 charm packs and I only have 2 so I've been picking out fabrics to go with them. It's gone really well - 2 new fabrics my inlaws gave me for Christmas, 2 solids I already had and one fabric I'd been eyeing up which was on sale:
Pearl bracelets - swoon!
I just need to pick up a green solid and I'll be good to go :)
The first step in making this quilt is to cut out 128 2 7/8"white squares - yikes. So far I've cut out 45 which actually didn't take too long! Looking forward to sorting out the layout and getting sewing soon.
Ooh and something else to show you. Do you remember my 'photography studio' in my old flat:
Well, my new flat has a perfect ready-made lightbox! Very handy.
I'll be linking up to Work in Progress Wednesday when it comes around :)
Thursday, 10 January 2013
Obi and Eli
Hi everyone! It's about time I showed you the finished quilts I made for my friends' twins Obadiah and Elijah. For those of you popping over from Finish It Up Friday or TGIFF (hi!) who haven't seen these quilts before, a group of friends joined me to make lots of little embroidered squares which I then turned into quilts :)
In my last post I told you about my nightmare quilting episodes. Thankfully after that, things were pretty straight forward. The only issue was timing - due to my imminent house move, I had to do all the hand-sewing on one of the quilts in one day! I know, I know, some people make an entire baby quilt in a weekend, but for me, 4 metres of hand-sewing in a day was an achievement.
So, here we go, finished pics :)
With my friends and I having spent so long on the embroideries, I hope you'll let me induldge in a few close-ups :)
These quilts were lots of fun to make, and it was really great to get some friends involved! Now I just need to convince them that they want to learn to baste so I can give up on that part...
Anyway, happy Friday everyone!
In my last post I told you about my nightmare quilting episodes. Thankfully after that, things were pretty straight forward. The only issue was timing - due to my imminent house move, I had to do all the hand-sewing on one of the quilts in one day! I know, I know, some people make an entire baby quilt in a weekend, but for me, 4 metres of hand-sewing in a day was an achievement.
So, here we go, finished pics :)
The two quilts!
And the backs :)
This one for Obi...
... and this one for Eli! Taken before the epic hand-sewing session
With my friends and I having spent so long on the embroideries, I hope you'll let me induldge in a few close-ups :)
Mum is musical, so this one's quite appropriate :)
Cute elephant by my friend Katie, and I loved sewing the rainbow!
Rocket and dinosaur, by Faye and Jenny, two of my faves :)
Edmund, Fab, pencil and bean
And an explosion, cos boys like those, right?
Anyway, happy Friday everyone!
All wrapped up and ready to give :)
Sunday, 6 January 2013
Straight lines are overrated
Hi everyone! Happy new year! I was lame this year and went to bed way before 12, but the new year seemed to turn up anyway :)
Anyway, let's head back to last year as I still need to show you the quilts I was making for my friends' new twin boys. Last time I showed you one of the completed quilt tops:
Well, next up was the backing. I splashed out a little and picked up a whole 2 metres of the gorgeous blue dragonfly fabric. It's so pretty! I may have wrapped myself up in it when I got it home and pretended it was a dress. May have.
Anyone who reads this blog won't be surprised at what came next - appliqué! The twins are named Obadiah and Elijah, which thankfully they shorten to Obi and Eli - much more achievable!
Next up - quilting. And boy, did this not go well! The main reasons were poor basting (despite my best efforts, sob!), trying too many new things at once (stitch-in-the-ditch quilting, and using different colour threads on the top and the bottom) and my walking foot not yet being useable. All this resulted in failed attempts to stay in the ditch, bunched up backing, and, most upsettingly, the straight lines of the quilt being dragged along by my normal machine foot until they were approximately a bazillion miles from being straight. Add to this that I accidentally cut a hole in one of the quilt blocks, and I was seriously wondering whether I should give up quilting. Gah!
But somehow I persevered. I emailed Moira for advice and replaced the holey block. I rebasted with help from the hubby. I redid a couple of lines where my stitches definitely weren't in the ditch. I fixed the worst straight-line-which-would-make-a-ruler-cry, and took lots of deep breaths and decided no-one would notice the other ones.
And so, the quilting was done. Phew.
Next up - binding. But I'll leave it that for another time. Hope you're all enjoying the new year!
I'll be linking up to Work in Progress Wednesday when it comes around :)
Anyway, let's head back to last year as I still need to show you the quilts I was making for my friends' new twin boys. Last time I showed you one of the completed quilt tops:
Well, next up was the backing. I splashed out a little and picked up a whole 2 metres of the gorgeous blue dragonfly fabric. It's so pretty! I may have wrapped myself up in it when I got it home and pretended it was a dress. May have.
Anyone who reads this blog won't be surprised at what came next - appliqué! The twins are named Obadiah and Elijah, which thankfully they shorten to Obi and Eli - much more achievable!
Next up - quilting. And boy, did this not go well! The main reasons were poor basting (despite my best efforts, sob!), trying too many new things at once (stitch-in-the-ditch quilting, and using different colour threads on the top and the bottom) and my walking foot not yet being useable. All this resulted in failed attempts to stay in the ditch, bunched up backing, and, most upsettingly, the straight lines of the quilt being dragged along by my normal machine foot until they were approximately a bazillion miles from being straight. Add to this that I accidentally cut a hole in one of the quilt blocks, and I was seriously wondering whether I should give up quilting. Gah!
The hole :(
But somehow I persevered. I emailed Moira for advice and replaced the holey block. I rebasted with help from the hubby. I redid a couple of lines where my stitches definitely weren't in the ditch. I fixed the worst straight-line-which-would-make-a-ruler-cry, and took lots of deep breaths and decided no-one would notice the other ones.
And so, the quilting was done. Phew.
Next up - binding. But I'll leave it that for another time. Hope you're all enjoying the new year!
I'll be linking up to Work in Progress Wednesday when it comes around :)
Subscribe to:
Posts (Atom)